
Wednesday, April 13, 2011
Detachable Flower Baby Beanie
Tuesday, April 12, 2011
Diaper Covers
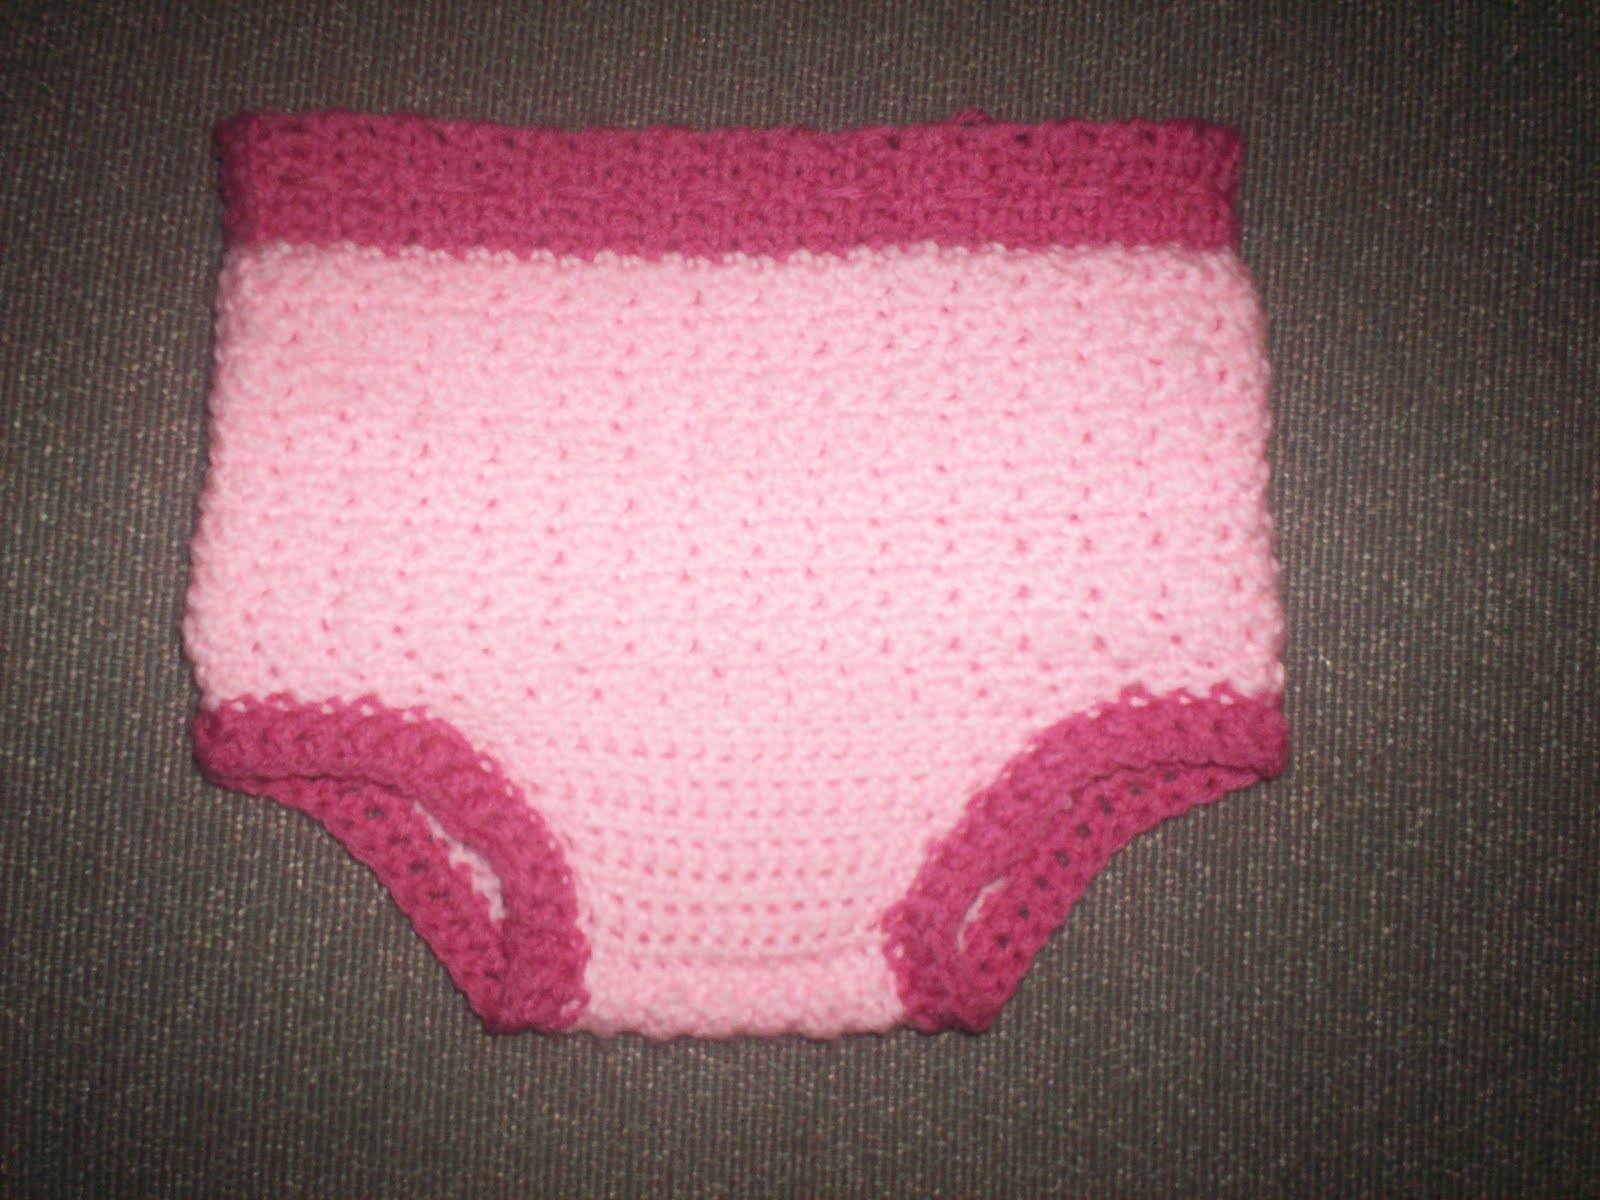

I attached the blue around the middle of the cover and did a row of sc around. Then I made a ruffle by doing a ch4 and 2tr in each sc.
I have used these in two ways. 1)On hot days when I only have Bekka in a diaper, I put these on over the diaper so she at least looks cute and girly. 2)I have used these as covers to cloth diapers (that don't already have a water resistant lining). The acrylic is water resistant, so it works really well. You could also use wool, but I didn't have any on hand when I made these.
Monday, April 11, 2011
Low Carb Chocolate Cake

Ingredients:
- 4 ounces unsweetened chocolate, coarsely chopped
- 8 tablespoons unsalted butter
- 2 tablespoons water
- ¾ cup granular sugar substitute, divided
- 2 tablespoons unsweetened cocoa powder
- 1 teaspoon vanilla extract
- 6 large eggs, at room temperature
- Whipped cream dusted with unsweetened cocoa powder (optional)
Heat oven to 325°F. Grease an 8-inch springform pan and line the bottom with parchment paper; grease paper and set aside. Melt chocolate, butter and water in the top of a double boiler set over simmering water, stirring to combine. Remove from heat and transfer to a large bowl; cool to room temperature. Add ¼ cup of the sugar substitute, the cocoa powder and vanilla extract to chocolate mixture, stirring until combined. In a medium bowl, with an electric mixer on medium-high, beat eggs until mixture forms thick ribbons when beater is lifted, about 6 minutes. Reduce speed to medium; gradually add remaining ½ cup sugar substitute and beat until combined, 1 minute. Stir one-third of the egg mixture into the chocolate mixture to lighten. In two additions, fold in remaining egg mixture until well combined. Pour batter into prepared pan, smoothing top. Bake until evenly risen and almost set, 40-45 minutes (it will look like a brownie). Cool completely on a wire rack. To serve, run a knife around edge of pan and remove rim. Serve with whipped cream.
Nutrition:
So, using Hershey's baking chocolate and cocoa powder and Splenda sweetener, here are the nutrition facts for the cake I made (not including whipped topping).
1/8th of cake: 233 calories, 22 g fat, 2.6 g net carbs
1/12th of cake: 155 calories, 14.6 g fat, 1.8 g net carbs
Sunday, April 10, 2011
Scones

Thursday, April 7, 2011
Banana Coffee Cake

INGREDIENTS:
Cake
2 1/4 cups Original Bisquick mix
1 1/2 cup mashed ripe bananas (about 3 medium)
(1/2 cup miniature semisweet chocolate chips)
1/4 cup granulated sugar
1/3 cup milk
2 tablespoons butter (or margarine), softened
1/2 teaspoon ground cinnamon
1 egg
(1/8 cup granulated sugar)
(1 1/2 teaspoons cinnamon)
Buttery Brown Sugar Sauce
1 cup butter
1/2 cup packed light brown sugar
2 tablespoons milk
1 tablespoon light corn syrup
1 teaspoon vanilla
DIRECTIONS:
1)Heat oven to 375°F. Spray 8-inch square pan (or 9-inch round if you happened to break your glass square pan and haven't gotten a new one yet...) with cooking spray. In medium bowl, stir all cake ingredients (except 1/8 cup sugar and 1 1/2 teaspoons cinnamon, if using) with wire whisk or fork until blended. Spread in pan. (Sprinkle cinnamon-sugar mixture over top, if using).
2) Bake 25-30 minutes or until gold brown and toothpick inserted in center comes out clean. Cool 30 minutes.
3)If using sauce: Meanwhile, in 2-quart saucepan, heat sauce ingredients except vanilla to boiling over medium heat, stirring constantly; boil and stir 2 minutes. Remove from heat; cool to room temperature. Stir in 1 teaspoon vanilla. Drizzle over warm cake. Serve warm.
Note**: This cake really does need to be served warm. I didn't think it would make that big of a difference so I had a bite of the cake when it was cold. It was dry and tasted too much like over-ripe bananas. But when it's warmed up (I'd recommend 20 seconds in the microwave if you've had it in the fridge) it is moist and just the right amount of banana flavor.
Pumpkin Cheesecake Squares


INGREDIENTS:
Base
1 cup all-purpose flour
3/4 cup packed brown sugar
1/2 cup butter (or margarine)
1 cup quick-cooking oats
(1/2 cup finely chopped walnuts)
Filling
1 package (8oz) cream cheese, softened
3/4 cup sugar
1 can (15oz) pumpkin (1 1/2 - 1 3/4 cup)
1 1/2 teaspoons ground cinnamon
1 teaspoon ground ginger
3 eggs
Cream Cheese Frosting (full batch)
1 package (8 oz) cream cheese, softened
1/4 cup butter (or margarine), softened
2-3 teaspoons milk
1 teaspoon vanilla
4 cups powdered sugar
Browned Butter Frosting (full batch)
1/3 cup butter (do NOT use margarine)
2 cups powdered sugar
1/2 teaspoon vanilla
2-4 tablespoons milk
DIRECTIONS:
1)Heat oven to 350°F. Spray 13x9-inch pan with cooking spray. In medium bowl, mix flower and brown sugar. Using pastry blender, cut in butter until mixture looks like coarse crumbs. Stir in oats and walnuts. Press in bottom of pan; bake 15 minutes.
2)In large bowl, beat filling ingredients with electric mixer on medium speed until well blended. Pour over hot base. Bake 25 minutes or until set and dry in center. Cool completely, about 2 hours.
3.a)Cream cheese frosting: In medium bowl, beat cream cheese, butter, milk and vanilla with electric mixer on low speed until smooth. Gradually beat in powdered sugar, 1 cup at at time, on low speed until smooth and spreadable. Spread frosting over bars (or half of bars if using both frostings).
3.b)Browned butter frosting: In 2-quart saucepan, heat butter over medium heat, stirring constantly, until light golden brown. Remove from heat. Stir in powdered sugar, vanilla, and enough milk until smooth and spreadable. Immediately spread over cooled bars (or remaining half of bars if using both frostings). Refrigerate about 15 minutes or until set.
For bars, cut into 8 rows by 4 rows. Store covered in refrigerator.
Pumpkin Pie Snickerdoodles


2/3 cup granulated sugar
2/3 cup packed brown sugar
3/4 cup butter (or margarine), softened
1 teaspoon vanilla
1/2 cup pumpkin
2 eggs
2 1/2 - 3 cups all-purpose flour
1 teaspoon baking soda
1 teaspoon ground cinnamon
1/2 teaspoon salt
1/3 cup granulated sugar
3 teaspoons ground cinnamon
1/2 teaspoon ground nutmeg
1/4 teaspoon ground cloves
1/4 teaspoon ground ginger
(or 4 teaspoons pumpkin pie spice)
Directions:
1)Heat oven to 375°F. In large bowl, beat 2/3 cup granulated sugar, brown sugar, 3/4 cup butter and 1 teaspoon vanilla with electric mixer on medium speed, scraping bowl occasionally, until well blended. Beat in pumpkin and eggs until well mixed. On low speed, beat in 3 cups flour, baking soda, 1 teaspoon cinnamon, and salt. Gradually beat in remaining flour until a nice dough consistency is reached (firm enough to hold its shape).
2)In small bowl, mix 1/3 cup sugar and pumpkin pie spices. Shape dough into 1 1/4-inch balls and roll in sugar mixture; place about 2 inches apart on ungreased cookie sheets.
3)Bake 10 to 12 minutes or until set. Cool 2 minutes; remove from cookie sheets.
Tips:
When rolling the dough, I spray my hands with cooking spray so that the dough won't stick to me. It's kind of gross, but it works like a charm. I also like to line my cookie sheet with aluminum foil because it makes it easier to work with just one sheet. As soon as I take the cookies out of the oven, I slide the entire piece of foil onto cooling racks. I can then put a new piece of foil on the cookie sheet (being careful of the hot metal) and start up the next batch. It also keeps the cookie sheet pretty much clean, making clean up a lot easier.
Wednesday, April 6, 2011
Slow Cooker Chicken Enchiladas
Ingredients:
4 frozen chicken breasts
1 can (15 oz) black beans, rinsed and drained
1 can (7 oz) chopped green chiles
1 can (10 3/4 oz) cream of chicken soup
3/4 cup green salsa
1 tablespoon cornstarch
cold water
tortillas
toppings
Directions:
1)Place frozen chicken in slow cooker; add beans and chiles. Add soup and salsa (you can use more or less salsa, depending on how much flavor you want to get from it -- I actually didn't measure, so I'm just estimating how much I used). Cook on low 5-6 hours.
2)Remove chicken and place in bowl. Combine 1 tablespoon cornstarch with enough cold water to make smooth; add to sauce in slow cooker and turn temperature up to high. Shred chicken and return to slow cooker. Cook on high 15 minutes to let sauce thicken.
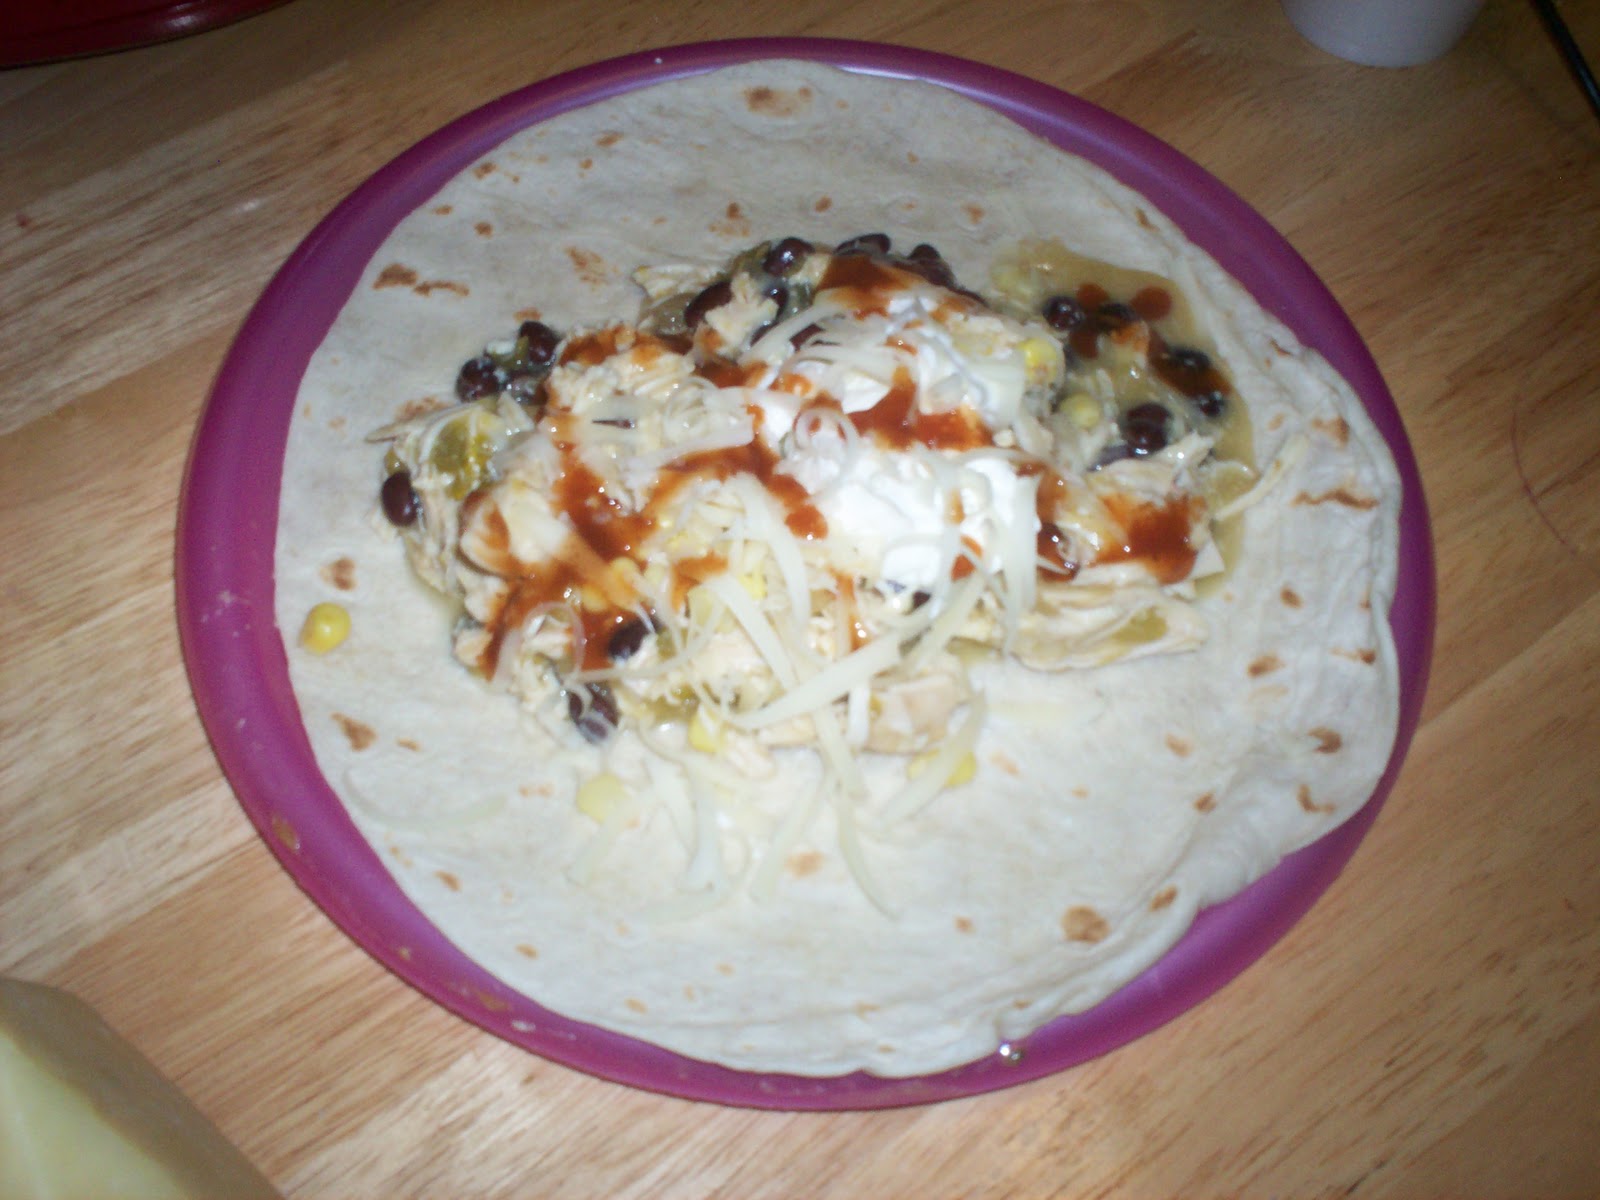
3)Spoon enchilada filling over tortilla; add desired toppings; roll up and enjoy.
Topping suggestions:
fresh chopped tomatoes
lettuce
sour cream
shredded cheese
hot sauce
Saturday, April 2, 2011
Homemade Hummus

Ingredients:
1 can garbanzo beans
2 cloves garlic, minced
1 tablespoon olive oil
1 tablespoon lemon juice
1/4 teaspoon salt

Directions:
Reserving liquid, drain beans. Puree all ingredients, adding reserved bean liquid until desired consistency is reached (I use 1-2 tablespoons).
If you divide it into fourths, each serving has about 140 calories. A lot of people eat it with pita bread, but since I'm trying to have fewer carbs, I like to eat it with a serving of baby carrots of slices of fresh jicama. It comes out to about 200 calories, which I find to be a very satisfying and healthy snack.
Friday, April 1, 2011
Easter Basket

The patterns for the lamb egg cozy and duck egg cozy were a little tricky since the pattern made them too big for the plastic eggs that I had. So I just had to keep checking after every round to see if it was time to stop increasing, or time to start decreasing.


BODY (stuff as you go)
Round 1: Make 5 sc in a magic ring (5sc)
Round 2: 2sc in each (10sc)
Round 3: [sc in next st, 2sc in next] 5 times (15sc)
Round 4: [sc in next 2 st, 2 sc in next] 5 times (20sc)
Round 5: [sc in next 3 st, 2 sc in next] 5 times (25sc)
Rounds 6-8: sc in each (25sc)
Round 9: [sc in next 4 st, 2 sc in next] 5 times (30sc)
Round 10: sc in each (30sc)
Round 11: [sc in next, sc2tog] 5 times (20sc)
Round 12: [sc2tog] 5 times (10sc)
Round 13: 2sc in each (20sc)
Round 14: [sc in next 3 st, 2 sc in next] 5 times (25sc)
Round 15: [sc in next 4 st, 2 sc in next] 5 times (30sc)
Rounds 16-20: sc in each (30sc)
Round 21: [sc in next 5 st, 2 sc in next] 5 times (35sc)
Rounds 22-26: sc in each (35sc)
Round 27: in back loops only [sc in next 5 st, sc2tog] 5 times (30sc)
Round 28: in both loops [sc in next 4 st, sc2tog] 5 times (25sc)
Round 29: [sc in next 3 st, sc2tog] 5 times (20sc)
Round 30: [sc in next 2 st, sc2tog] 5 times (15sc)
Round 31: [sc in next, sc2tog] 5 times (10sc)
Round 32: [sc2tog] 5 times (5sc)
Cut a long tail and stitch through 5sc; pull tight and fasten off.
ARMS (make 2)
Round 1: Make 5sc in magic ring (5sc)
Round 2: 2sc in each (10sc)
Rounds 3-10: sc in each (10sc)
Fasten off
LEGS (make 2)
Round 1: Make 5sc in magic ring (5sc)
Round 2: 2sc in each (10sc)
Rounds 3-5: sc in each (10sc)
Fasten off
EARS (make 2)
Round 1: Make 4sc in magic ring (4sc)
Round 2: [sc in next st, 2sc in next] twice (6sc)
Round 3: [sc in next 2 st, 2sc in next] twice (8sc)
Round 4: [sc in next 3 st, 2 sc in next] twice (10sc)
Rounds 5-11: sc in each (10sc)
Round 12: [sc2tog] 5 times (5sc)
Fasten off
TAIL
Round 1: Make 5sc in magic ring (5sc)
Round 2: 2sc in each (10sc)
Rounds 3-4: sc in each (10sc)
Stuff lightly
Round 5: [sc2tog] 5 times (5sc)
Fasten off
RIBBON
ch 21 (or until chain reaches around neck)
Row 1: sc in 2nd ch from hook and each ch across; fasten off (20sc)
BOW
ch 7
Row 1: sc in 2nd ch from hook and each ch across (6sc)
Rows 2-3: ch1, turn; sc in each (6sc)
Fasten off
NOSE
ch 5
Row 1: sc in 2nd ch from hook and each ch across (4sc)
Row 2: ch1, turn; sc in same st, sc2tog, sc in last st (3st)
Row 3: ch1, turn; sc2tog starting in same st, sc in last st (2st)
Row 4: ch1, turn; sc2tog starting in same st (1st)
Round 5: ch1; starting in same st, sc around triangle; fasten off
EYES
make 5sc in magic ring; fasten off
Assembly:
Stitch ears to top of head. Stuff arms, legs, and tail, and stitch to body. Wrap ribbon around neck and join ends. Wrap yarn around center of bow 3-4 times and tie tightly; stitch bow to bunny over ribbon. Stitch eyes and nose onto face. Create whiskers using straight stitch. (**Note: Refer to original pattern to see other options for face detail.)
Subscribe to:
Posts (Atom)